Digging Deeper: How Smart Soil Prep Boosts Your Harvest
Before seeds can take root, the soil must be ready. From ancient fields to contemporary farms, this timeless truth has been handed down through generations: proper soil preparation is the cornerstone of a successful harvest.
Brad Barthorpe, Sales Manager – Distributors Africa at Husqvarna South Africa, explains that it’s not merely about clearing the land. “It’s about understanding your terrain, selecting the right tools, and creating conditions that give your crops the very best start. Treat your soil well, and it will reward you with healthy plants and higher yields.”
So, what does effective soil preparation look like in practice for small-scale farmers, allotment holders, and keen gardeners? Barthorpe offers some practical guidance:
1. Don’t dig deeper than necessary
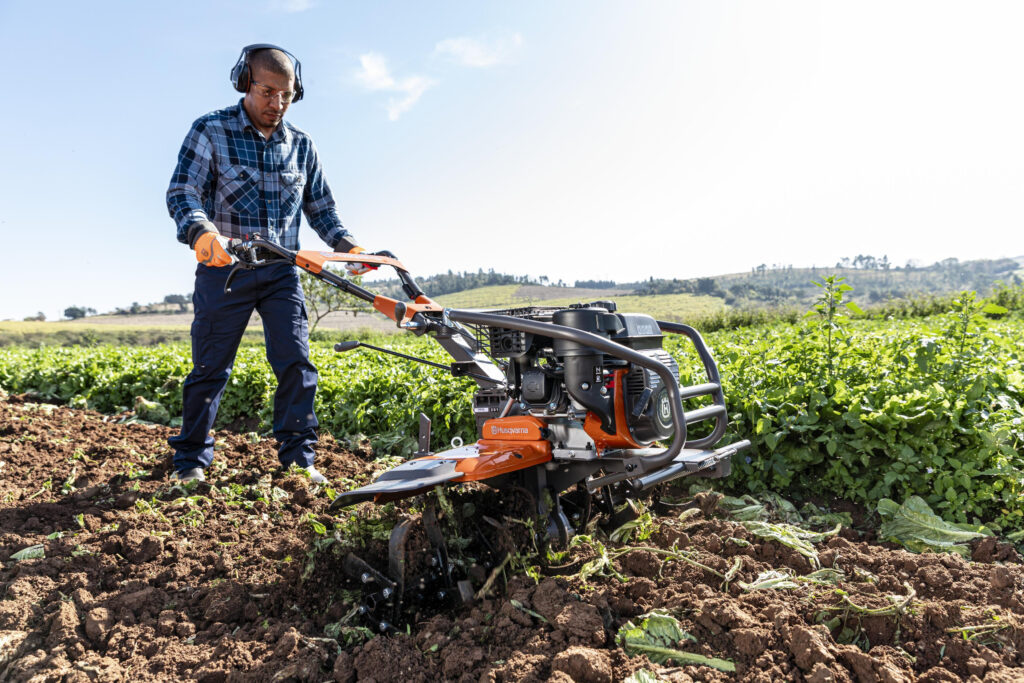
Soil thrives in layers, and disturbing them unnecessarily can do more harm than good. Usually, turning just the top 5–8 cm is sufficient to create a fine tilth—loose, fertile soil that allows roots to flourish. Lightweight garden tillers or cultivator attachments are ideal for this work, easy to manoeuvre between rows without compacting the soil.
2. Timing is crucial
Work the soil when it’s moist, not sodden or parched. Overworking wet soil leads to clumps and structure damage, while dry soil crumbles to dust. A simple test: take a handful and squeeze gently—it should hold shape lightly and then crumble under pressure. Spring, as the ground begins to warm, is generally the best season. Husqvarna’s range of tillers offers flexibility to prepare soil precisely when conditions are optimal.
3. Know when to go deeper
Compacted soil can hinder root growth and reduce water absorption. Poor drainage or stunted plants may indicate the need for deeper cultivation. Rear-tine tillers are designed to break through hard layers, aerating the soil for healthy roots. For larger plots, a two-pass approach works well: first shallow to break the crust, then deeper to lift and loosen the soil.
4. Consistency is key
When using a tiller, maintain parallel lines across the plot. Avoid forcing the handles; let the machine’s weight and power do the work. On slopes, work across rather than up and down to prevent erosion. Adjustable handle heights help beginners maintain balance and rhythm, making long stretches more manageable.
5. Consider no-dig methods
Not every plot requires turning. For beds that are already fertile, layering organic matter—compost, manure, grass clippings, or mulch—can naturally enhance soil health. Earthworms and microbes will gradually incorporate nutrients into the deeper layers. For smaller gardens, battery trimmers with tiller or dethatcher attachments can lightly mix organic matter without heavy digging.
6. Prioritise safety
Soil preparation should never compromise safety. Remove stones, wire, and debris before tilling. Wear gloves, sturdy footwear, and eye protection, and keep bystanders, particularly children, at a safe distance. Modern tools feature safety mechanisms like adjustable speeds and counterweight balance, but understanding your equipment and working steadily remain the best safeguards.
For beginners, these tips provide a solid foundation. For experienced growers, they are a timely reminder that even tried-and-tested practices benefit from occasional review, especially as tools evolve and conditions change.
“Healthy soil is the starting point for every successful harvest,” says Barthorpe. “With seasonal timing, proper technique, and the right tools, soil preparation transforms from a chore into an investment.”